Illustrated Windows Vista Installation continued
Step 7 – In this window, you are given a choice between upgrading an existing windows vista installation or doing a fresh install. For the sake of this guide, we are going to choose Custom (advanced) option which will install a fresh copy of Windows from scratch.
Note: The other option is disabled by default because we are booting from the Windows Vista installation disk
Step 8 – In this part we need to select the partition where you want to install Windows Vista. If you are doing a clean installation on your PC, then you should see the drives listed as C: , D: and so on… If you are installing windows vista on a newly bought computer or on a new and unpartitioned drive, you will see the drive listed as Disk0, Disk1 and so on.., depending on the number of hard drives you have inside your computer.
Installing on a unpartitioned hard drive or on a new PC: Select the unpartitioned drive from the list and click on Advanced. And Click Next, setup will create a partition using the on all the available disk space, and format it.
If you are doing a clean installation: Select the partition where you want to install windows vista, default is C:. Click Advaced and press format, use NTFS and then Press next.

Step 9 - Windows starts the installation process and starts copying all the necessary files to your hard drive and you will be shown image like the one below. It will go through various stages of the setup and will reboot your system few times.
Note: You have to wait until windows vista installer finishes copying the necessary files to your hard drive, your computer will reboot several times, so avoid pressing any key during the reboot to avoid booting from the DVD. Wait until you see a window that will ask you for your username and password.

Step 10 - After the windows vista installations have finished copying files to your hard drive, you will be presented with a window similar to the one below. At this stage you need to choose a user name, password and a picture for your user account. The account you create here is the Administrator account which is the main account for your Windows Vista that has all the privileges. Click next to continue.
Note: Avoid forgetting the username and password you used here, as that would result to you being locked out of the system and would be unable to use your computer unless you redo everything.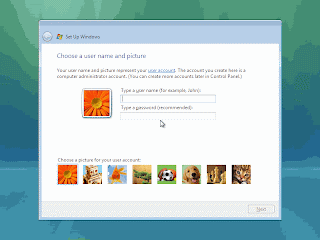
Step 11 – In this next step you can set your computes name and desktop background. Click next to continue to the next step
Step 12 – In this part you will be asked if you want to help protect Windows automatically. Choose "Use recommened settings" to continue.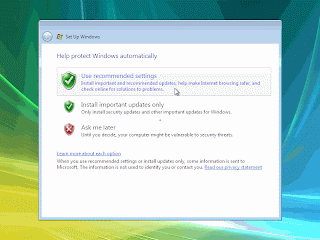
Step 13 – Now in this part review your time and date settings and adjust them accordingly. 
In this next screen you will be asked to select your computers current location. You can choose between home, work, public location. Choose whichever it is to continue. You will then see a "Thank you" screen which confirms the end of the interactive installation process. This is not the end of the setup process. There are still many after installation configuration to be done. Click next to continue.
Step 14 - Windows will then run a benchmark type of application which will check the performance of your system. You will see a status bar at bottom which shows the progress. Once the process has completed you will be presented with the login screen. 


Step 15 - Finally fill in the username and password you used in the previous steps to login to windows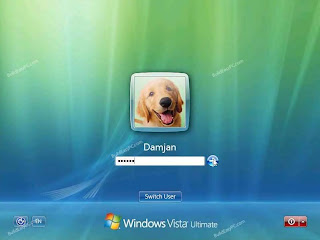
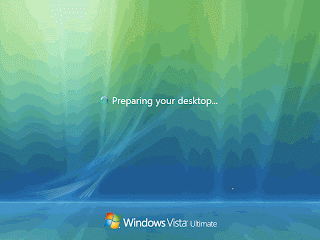

Step 16 – As soon as you are logged in, you will then be presented with welcome centre screen. You can utilize the welcome centre to configure, customize, and update Windows Vista.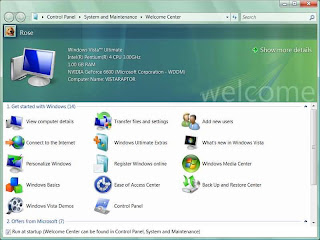
Step 17 – Finally, Install all the device drivers for your computers and you are all set.
Window Vista Installation Part 1
to see the rest of the guide tutorial

0 comments
Post a Comment